This documentation will guide you on How to Password Protect your pages
Note: Password Protection is supported only for Apache web server
Goto Editor
When on SiteBuilder Dashboard. Hover on Pages option given on the left sidebar and then click on All Pages. Once on all Pages Click on Edit Icon of Any Page.
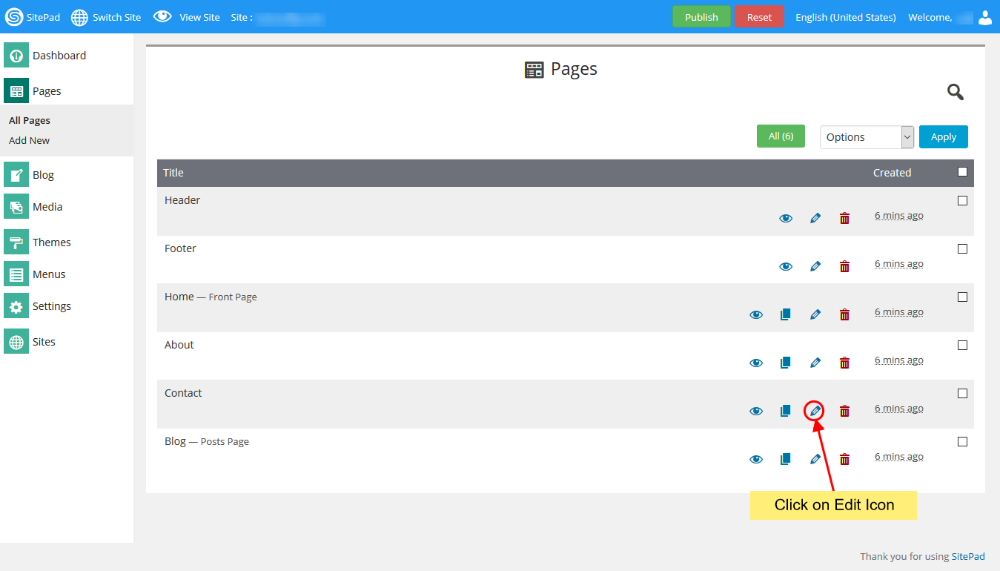
You will be redirected to Editor.
Select Password Protect
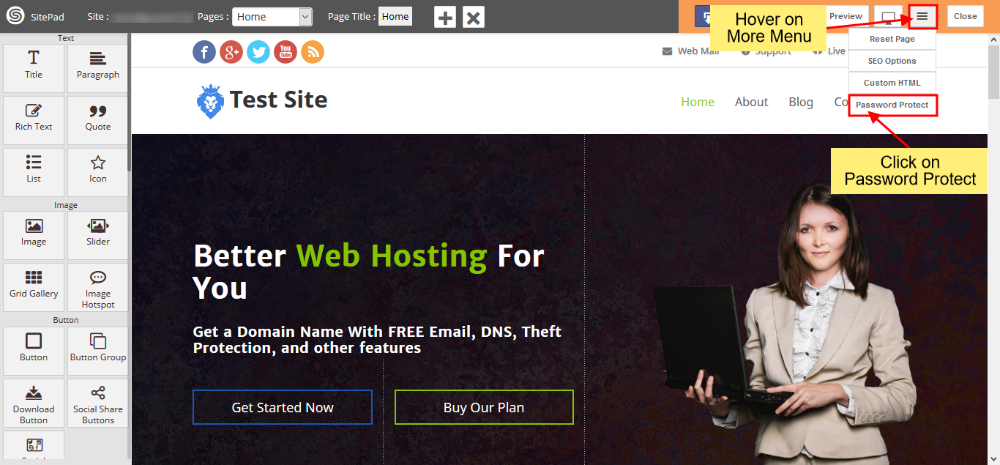
On SiteBuilder Editor hover on more menu on the navigation bar. When you hover over more menu four buttons will be drop down i.e Reset Page, SEO Options, Custom HTML and Password Protect.
Click on Password Protect.
Password Protect Pages
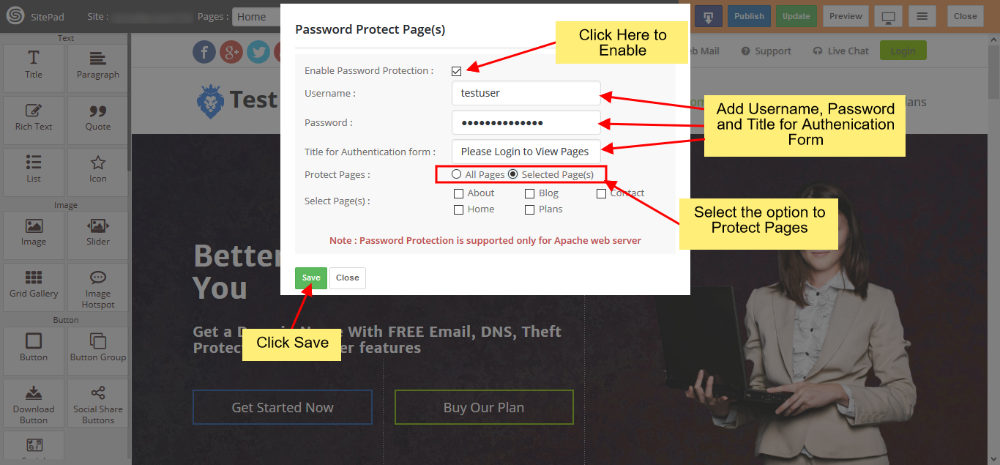
On clicking Password Protect you will see a dialog box will appear. Click on Enable Password Protection checkbox. Insert Username, Password and Title for Authentication. Then select the option from Protect Pages i.e All Pages or Selected Pages.
- On click of Enable Password Protection your password protection option will be enabled.
- Insert Username that you want. It will be asked when you Log-in to password-protected pages/site.
- Insert Password that you can remember. It will be asked when you Log-in to password-protected pages/site.
- Insert Title for Authentication. This will be shown on the Log-in a Dialog box.
- Select an option from Protect Pages i.e All Pages if you want to password protect the full site or if you want only Selected Pages then choose the given option.
- If Selected Pages option has been selected you will find Select Pages option through which you can select which page to password protect.
Once you have made the changes then click on Save to save the Password Protect Pages Option.
Note: You will need to Publish your site for all the changes to take place.
Removing Password Protection
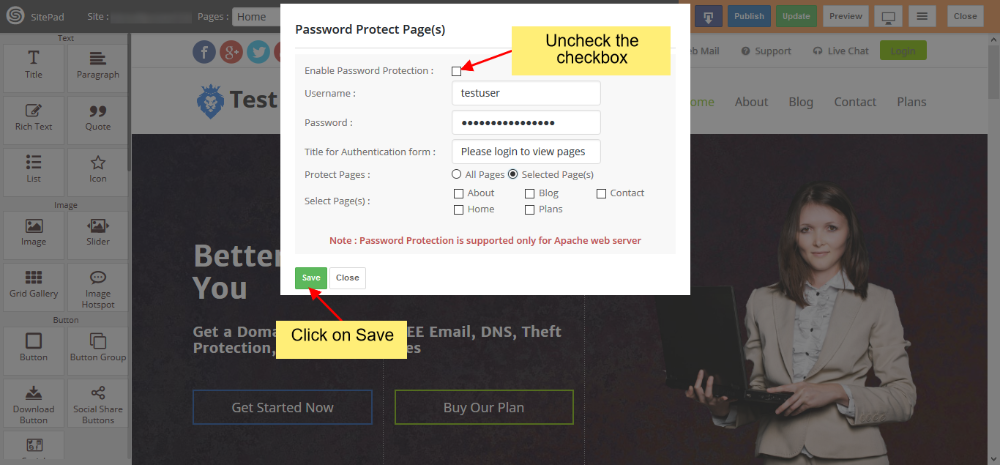
To Remove Password Protect Pages click on Password Protect option. Uncheck the Enable Password Protection checkbox. Click on Save.
Note: You will need to Publish your site for all the changes to take place.