This guide will show you how to Add a Custom Logo
Goto Pages and Edit Header
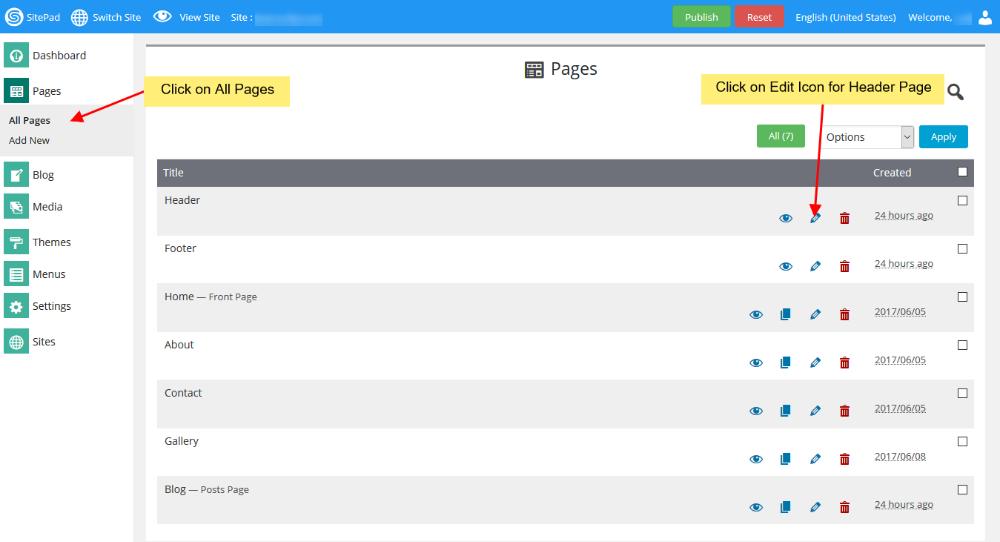
When you are on SiteBuilder dashboard. You will see Pages option on Sidebar Navigation Menu. Hover on Pages and Click on All Pages
Once you see all Pages. Click on the Edit Icon of the Header Page shown like in the image below.
Adding Custom Logo
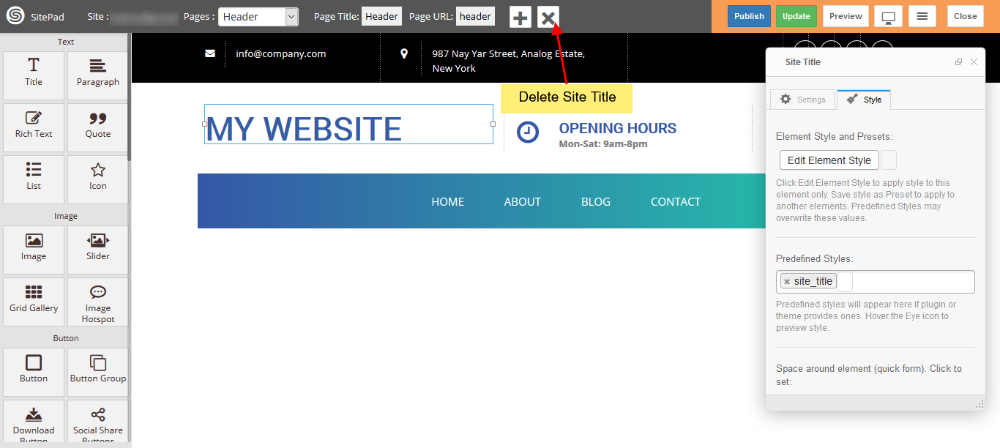
You will be redirected to SiteBuilder Editor for Header. When you are in SiteBuilder Editor if you want to add just the logo you will need to remove Site Title as shown in the below image and if you want the logo as well as text you do not need to remove the Site Title.
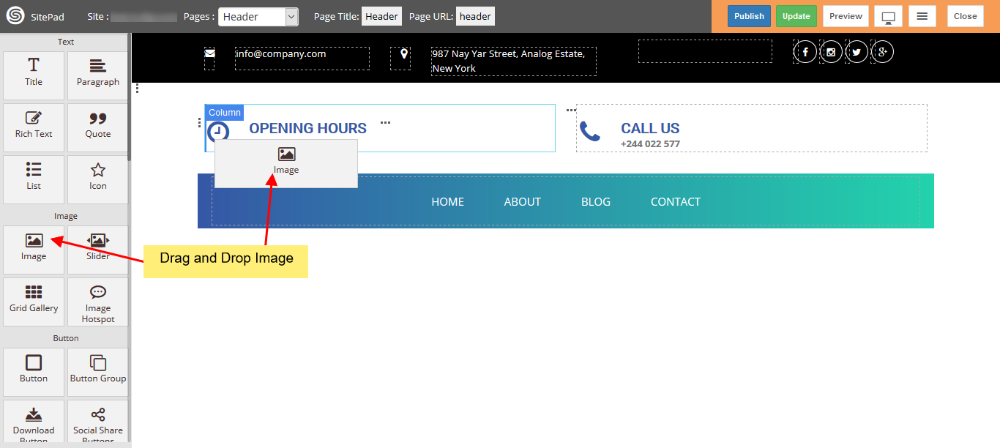
Now drag and drop Images Widget to a new column in the same row with menu as shown in the image below.
After you drop the Image Widget. You will see a dialog box with naming Insert Media shown in the image below.
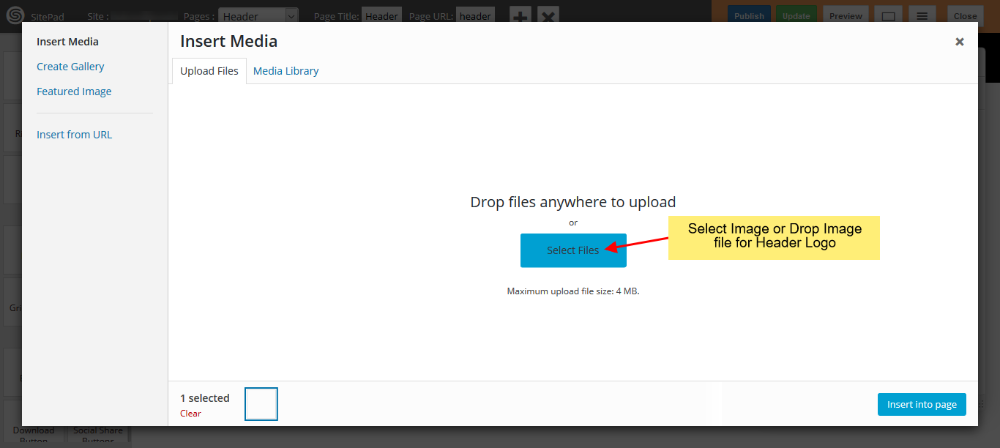
You can select the logo file or drop the file in the dialog box.
Note: Image File should be in .jpeg, .jpg or .png format only and Size of the Logo as per your requirement( Image File in rectangular style would be more suitable ).
Once you upload the file Click on Insert into Page. Once the image is inserted you can adjust your logo column as per your menu.
Once Finished you can click on Update to Save if you want to edit other page.